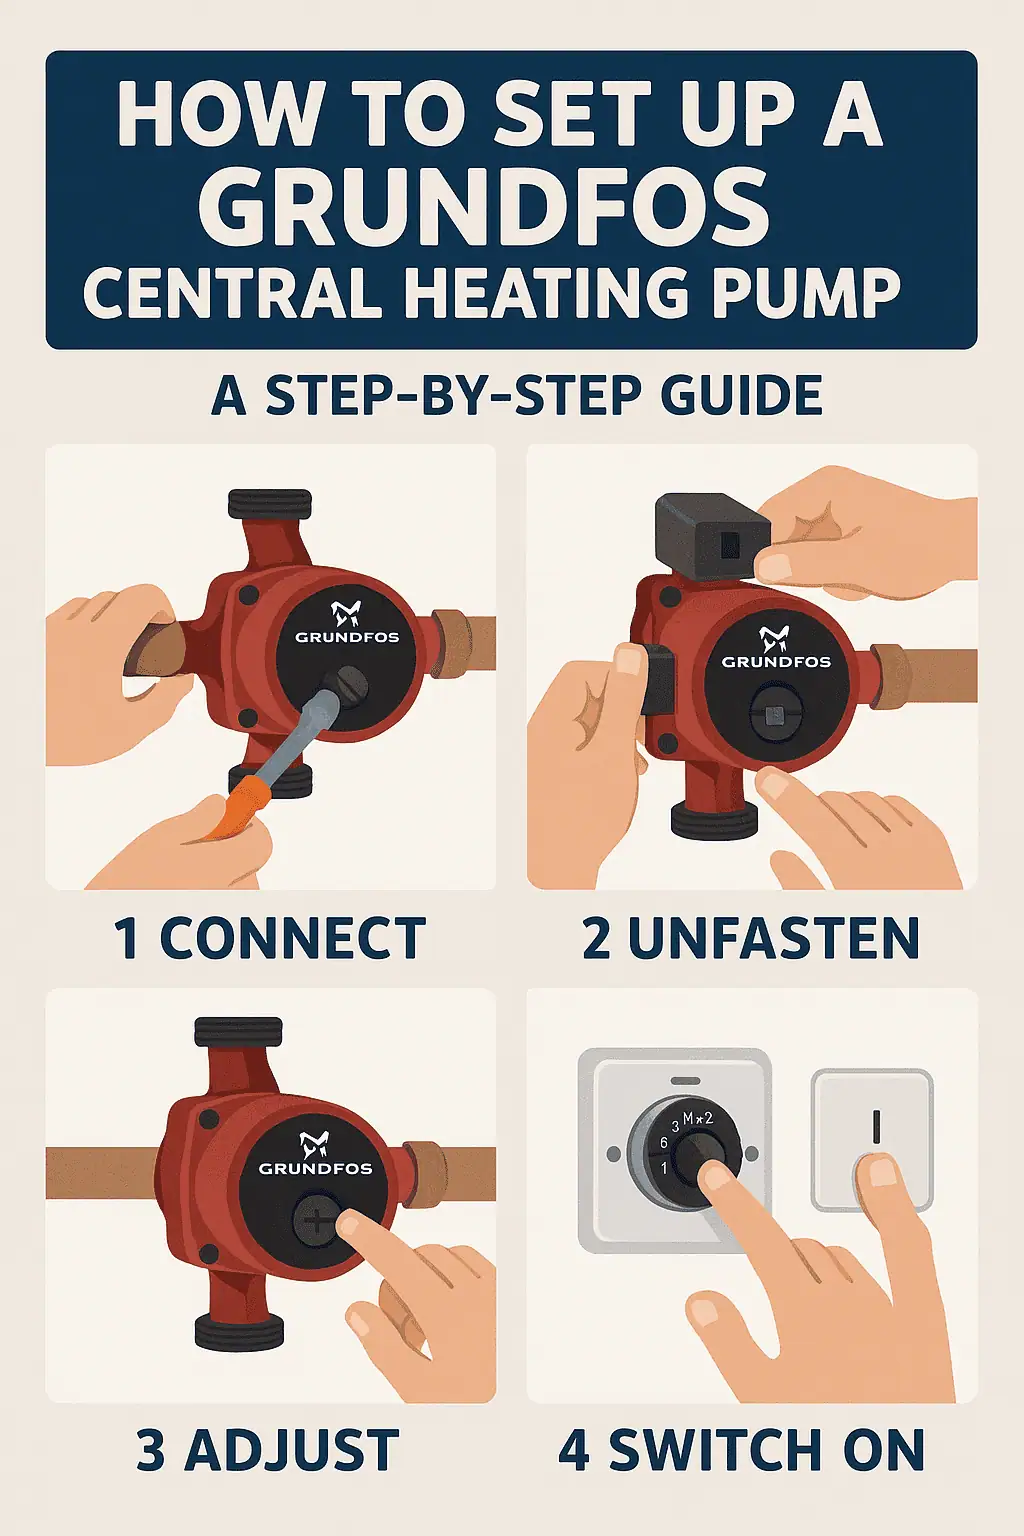
Grundfos Central Heating Pump – A Step-by-Step Guide
Installing a Grundfos central heating pump properly is essential for maintaining an efficient and well-functioning central heating system. A correctly installed pump ensures optimal water circulation, prevents cold spots in radiators, and helps reduce energy costs.
This guide provides a detailed step-by-step installation process, troubleshooting tips, and best practices for setting up your Grundfos heating pump.
🔧 Tools & Materials Needed
Before you begin, ensure you have the following:
✔ Grundfos central heating pump (check compatibility with your system)
✔ Adjustable wrenches (spanners for tightening pump nuts)
✔ Screwdrivers (for electrical connections)
✔ Pipe cutters & PTFE tape (to seal joints and prevent leaks)
✔ Isolation valves (recommended for easier future maintenance)
✔ Bucket & towels (to catch any water leaks)
✔ Multimeter (to check electrical connections if needed)
📌 Step-by-Step Installation Guide
1. Turn Off the Power & Water Supply
-
Switch off the boiler and central heating system at the mains.
-
Isolate the electrical supply at the fuse box.
-
Close the isolation valves on both sides of the existing pump (if present).
💡 Tip: If you don’t have isolation valves, you may need to drain the heating system to prevent water leaks.
2. Drain the Heating System (If Needed)
-
Locate the drain-off valve near the lowest point of the heating system.
-
Attach a hose and direct it to a suitable drain.
-
Open the valve to allow water to exit.
💡 Important: If your system has isolation valves, you can skip this step.
3. Remove the Old Pump (If Replacing)
-
Place a bucket and towels under the pump to catch water.
-
Use a spanner to loosen the pump nuts on both sides.
-
Carefully remove the old pump and allow any remaining water to drain.
⚠ Safety Tip: Be careful of hot water inside the system.
4. Install the New Grundfos Pump
-
Check the flow direction – The arrow on the pump housing must align with the intended water flow.
-
Apply PTFE tape to the threads to ensure a watertight seal.
-
Position the pump and tighten the nuts securely using a spanner.
-
Ensure the pump is level and securely mounted.
5. Electrical Wiring Setup
-
Open the Grundfos pump’s electrical cover.
-
Connect the wires as follows:
-
🔴 Live (L) – Brown wire
-
🔵 Neutral (N) – Blue wire
-
🟢 Earth (E) – Green/yellow wire
-
-
Secure the connections and close the cover.
⚠ Safety Note: If you’re unsure about wiring, consult a qualified heating engineer.
6. Refill the System & Bleed Air
-
Close the drain-off valve if you previously drained the system.
-
Open the isolation valves (or refill the system manually if needed).
-
Bleed air from the pump and radiators using a radiator key.
💡 Tip: Trapped air can cause circulation problems and noisy operation.
7. Power On & Test the Pump
-
Restore power to the boiler and heating system.
-
Set the pump speed (Grundfos pumps often have multiple speed settings).
-
Check that all radiators are heating up properly.
-
Look for any leaks or unusual noises from the pump.
🔍 Troubleshooting Common Issues
❌ Pump not running?
✔ Check if the power supply is working.
✔ Ensure all electrical connections are correctly wired.
✔ If necessary, use a multimeter to test for voltage.
❌ Pump is noisy?
✔ There may be trapped air – try bleeding the system again.
✔ Check if the pump is securely mounted.
❌ Radiators not heating up?
✔ The pump speed might be too low – try adjusting it.
✔ Check for blockages in the system.
📍 Need Professional Installation in North & West London?
At A&C Heating and Plumbing Ltd., we offer:
✅ Grundfos pump installation & replacement
✅ Central heating repairs & maintenance
✅ Gas Safe certified engineers
✅ 24/7 emergency heating services
📞 Call us today: 0779 559 5757